
Robot Design
Learn how we designed, built, and programmed our robot to complete missions during the UNEARTHED season.
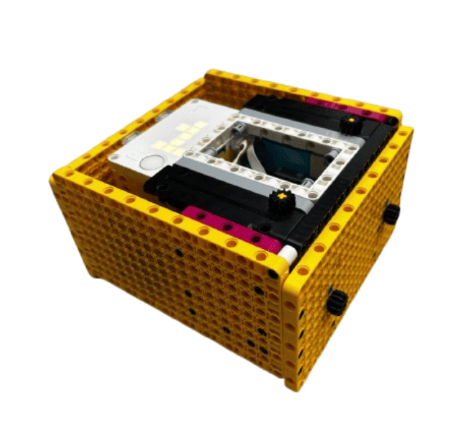
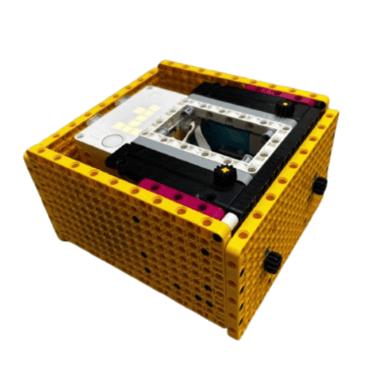
The BetaBot
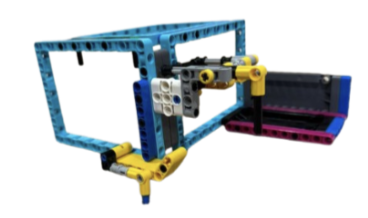
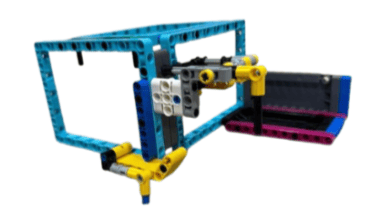
This is the primary BetaBot. It is the robot we code all of our missions on. It features a hub with displays and buttons, two attachment motors and two driving motors, a gyro sensor for precise movement, and PyBricks programming firmware.
We chose this robot because it:
■ Has a box shape that makes attaching equipment easier
■ Is symmetric, which helps prevent drifting
■ Has a low center of gravity to reduce wobbling
■ Has a sturdy frame to keep attachments stable during runs
■ Has a flat surface for quick attachment swaps
Attachments
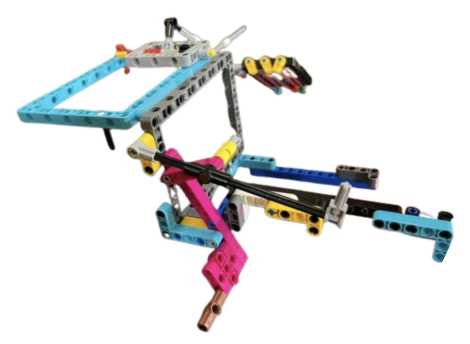

Map Reveal + Surface Brushing
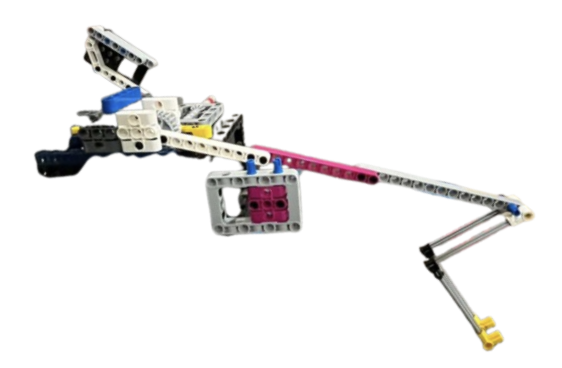
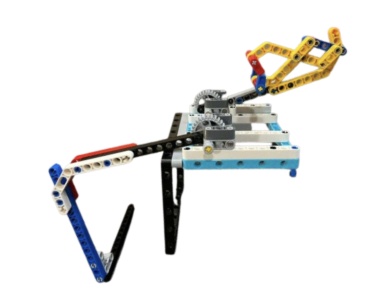
This is the attachment for the mission Map Reveal + Surface Brushing. It has five main components. 3 components help solve the Map Reveal mission, which are all passive. The long stick at the bottom helps reveal the topsoil, accounting for one-third of the mission. The second component, a beam with an L on the tip, pushes the soil back, completing another third of the mission. The last part of the Map Reveal attachment is the L-shaped handle, which helps collect the topsoil, which can later be put in the forum. Next, there are two elements with the Surface Brushing mission, the axle which helps push the soil deposits to the ground by moving the brush, and the motorized rubberband attachment which grabs the brush.
What's on sale + Tip the scales
This is the attachment for the What's On Sale + Tip the Scales mission. To complete the mission, we used beams and an L-shaped piece to lift up the roof, and the axle connected to it tips the scale. Next, the sideways arm with the pin at the bottom puts down the market ware and latches onto the scale pan. The two angled yellow pieces help align with the mission for precision and accuracy.
Statue reveal + Angler artifacts
This attachment completes the Salvage Operations + Site Marker. By using the frames on the left, it raises the ship by pushing the red frame. On the top right, there is a black axle and a place to put the site marker. When the ship is being raised, the black axle pushes against the ship to drop the site marker inside its designated area. Lastly, on the right side, it uses an axle and a frictionless pin to clear the sand. When it goes in the mission to raise the ship and drop the site marker, it engages with the element to pull the sand, and when going into the home area, it clears it. This attachment is completely passive, allowing us to not struggle for accuracy.
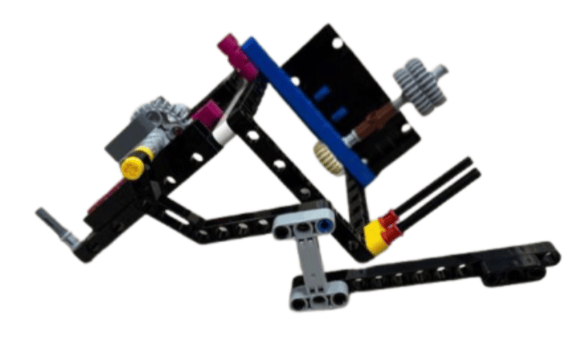
Who Lived Here + Forge + Heavy Lifting + Silo
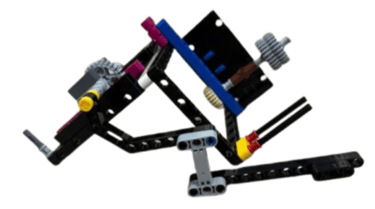
This attachment performs the Who Lived Here + Forge + Heavy Lifting + Silo missions. First, the long beam with the two axles, consisting of 90-degree connectors at the ends of it, lifts the millstone out of its base. We also use a bigger gear for this attachment to increase torque, making it easier to carry the millstone. Next, the frame with the biscuit inside releases the forge pieces, making the structure upright for Who Lived Here. Lastly, the motorized attachment on the left pushes the lever to release the preserved pieces from the silo.
This is the attachment for the Statue Reveal + Angler Artifacts + Site Marker missions. Multiple components are used to complete all three missions while transitioning to the left side. First, the two axles are used to keep the site marker in its place while dropping it to its respective location. Next, the frame and gear on the left side of the attachment are used to complete the Angler Artifacts mission by spinning the gears to lift to excavate the artifacts from the port and use the frame for alignment with the mission. Lastly, the arm on the right side is used to raise the statue. We use higher torque for this mission because it generates more power to lift it.
Salvage Operations + Site Marker

Careful Recovery + Mineshaft Explorer
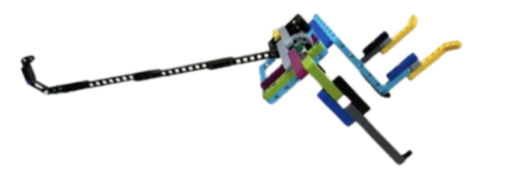
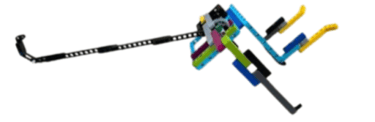
This attachment completes the Careful Recovery + Mineshaft Explorer missions. On the left side of the attachment, we have a beam that lifts the mineshaft lever and sends the minecart to the other table. Using a larger gear gives us higher torque, so the beam can lift the lever flawlessly every run. Next, we have the claw that latches onto the precious artifact while the beam keeps the lever up, leaving space for the claw to latch onto it and pull it up. One of our key strategies for this mission was to go from the front and perform it, because if we were to capture the precious artifact from the side, there was a higher risk of the structure falling, costing us 10 easy points.
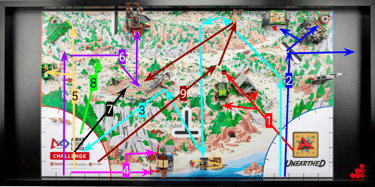
Mission Strategy

Contact
Reach out to the Beta Artists anytime!
contact@betaartists.tech